
Client: Overseas jewelry brand
Goal: Build a signature 18K gold moissanite engagement ring with classic silhouette and refined detail
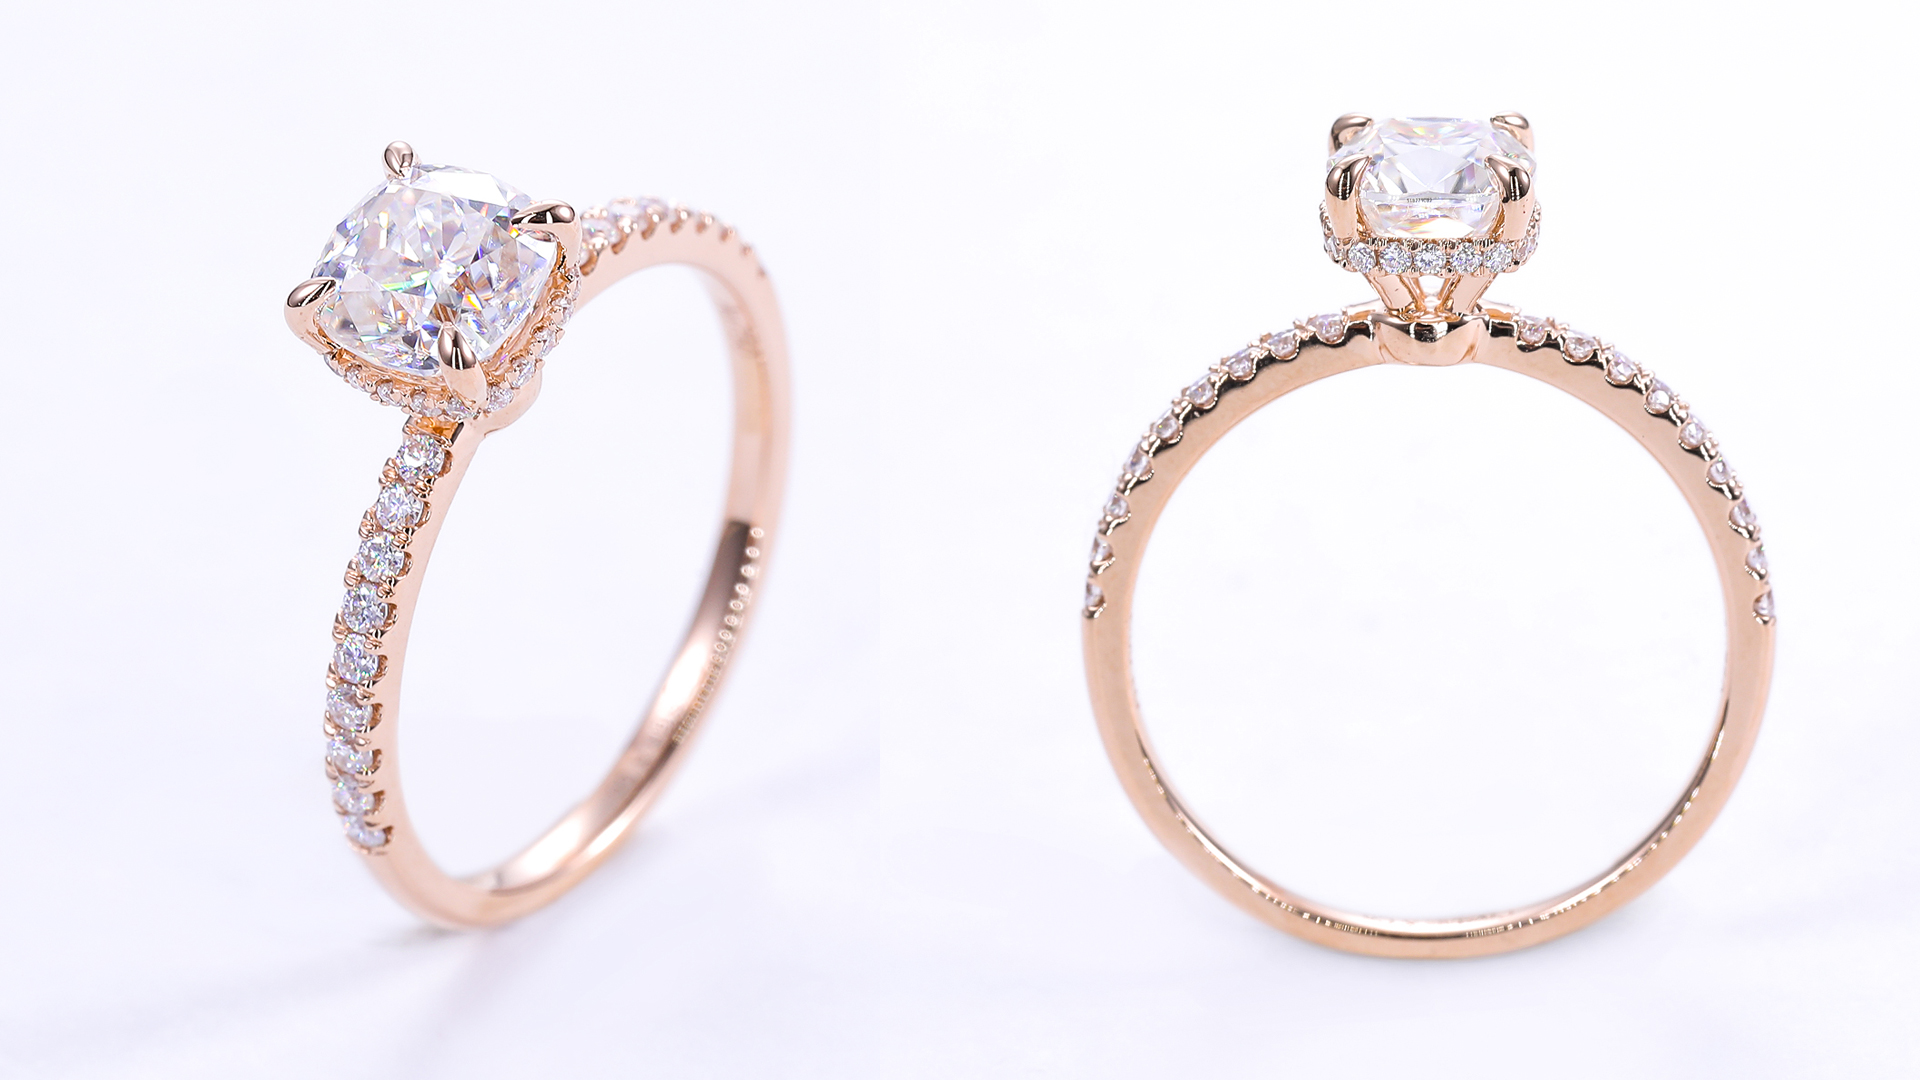
Final piece: 18K rose gold + cushion-cut moissanite center + four-prong setting + small moissanite halo + pavé shoulders
The client didn't want a stock ring. They wanted a piece that could anchor their own collection — recognizable from across a room, but still classically proportioned.
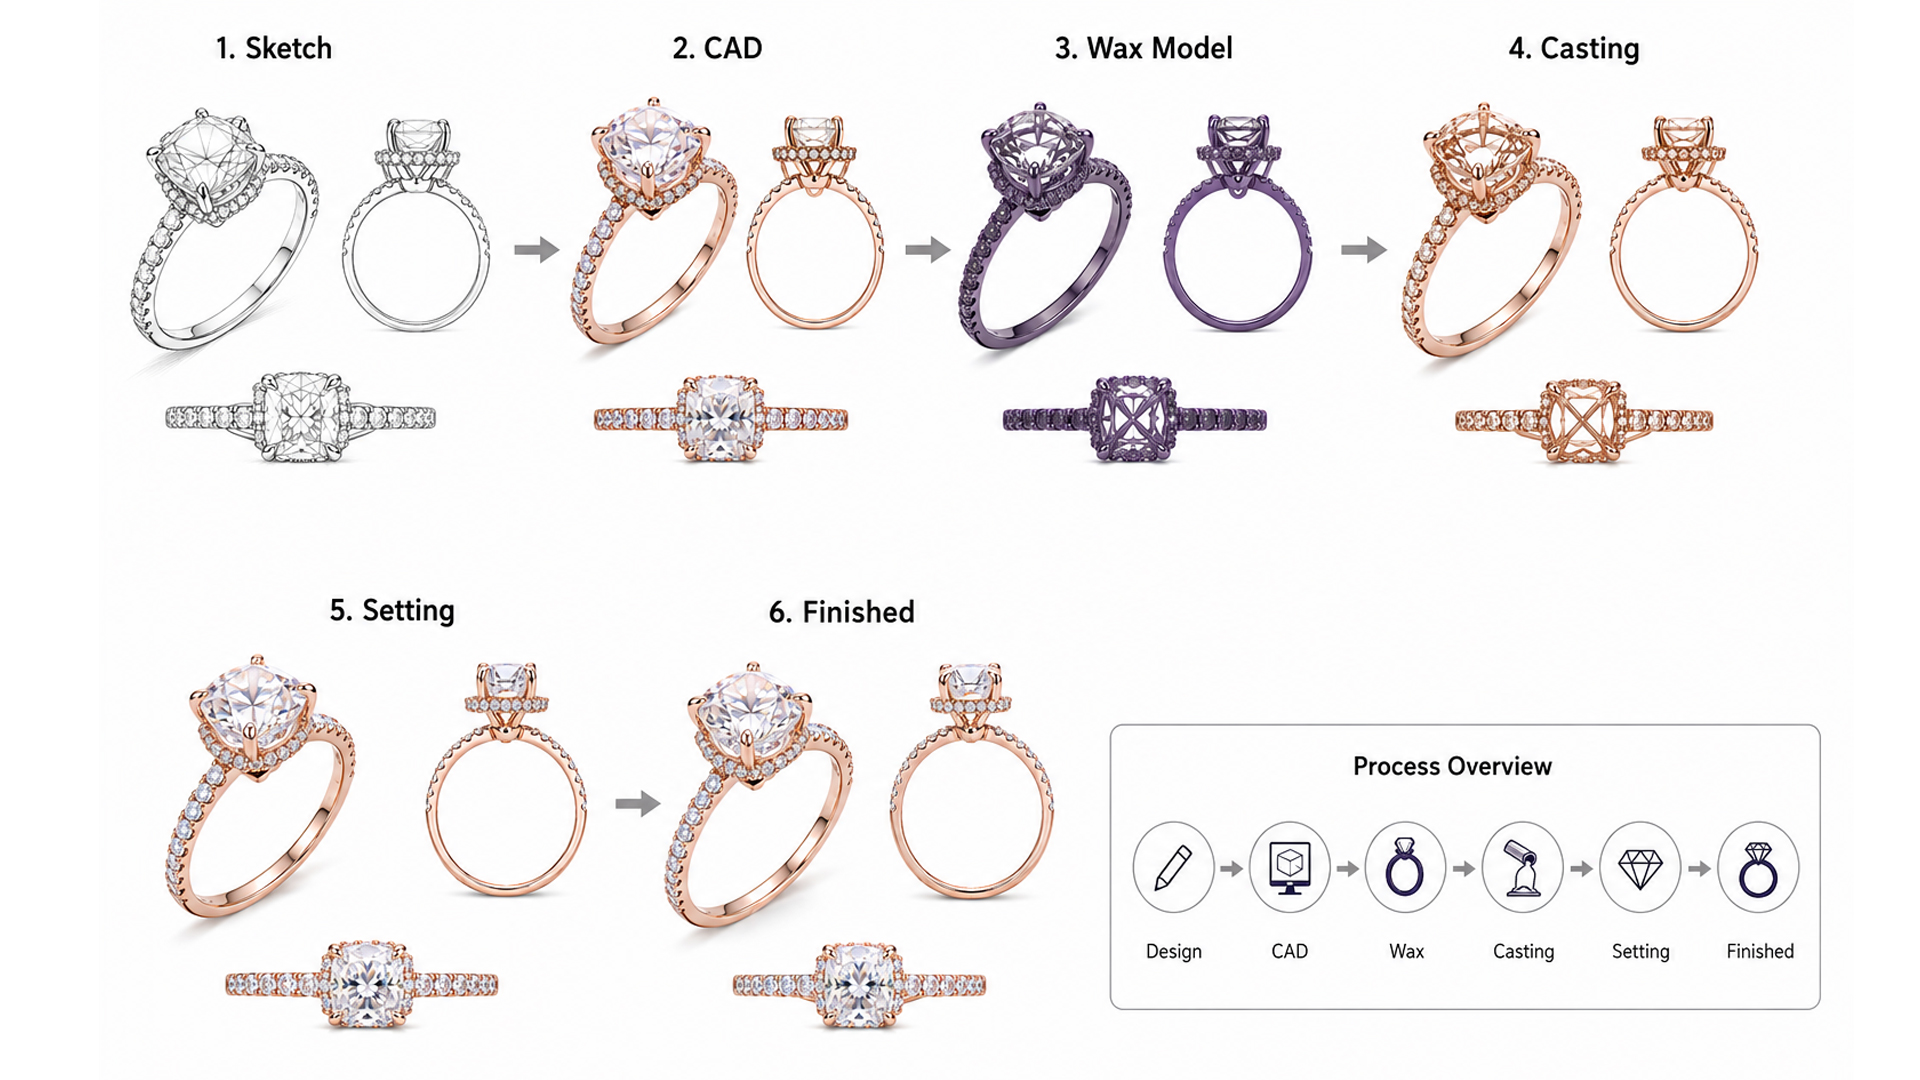
We walked this ring from sketch to finished product through 9 steps. Here's exactly what happened at each one.
The Client Brief
Two things the client cared about most:
1. Center stone visibility. Not just "pick a stone and stick it in." The center had to read as the focal point — proper proportions, height, prong position, side profile.
2. Pavé shoulder precision. Pavé looks simple. It's not. Every small stone needs consistent spacing, angle, and seat depth. If the CAD is sloppy, the pavé will be sloppy.
The 9-Step Custom Process
Step 1: Design Brief From the Client
Clients don't need to arrive with a finished 3D file. Typical inputs:
● Hand-drawn sketch
● Reference images (Pinterest, competitor photos, mood boards)
● Stone shape + ring size + metal preference
● Brand guidelines (color palette, style direction, logo placement)
The factory's job at this stage: understand the design language, not just execute a spec.
Step 2: 3D CAD Modeling
CAD is the bridge between "idea" and "production."
Build order for this ring:
Ring band → center setting → four prongs → halo seats → pavé shoulders → detail cleanup
We review the model from 4 angles:
● Front: Center alignment, overall symmetry
● Side: Stone height, prong position, setting-to-shank connection
● Top: Pavé evenness, silhouette proportion
● 3D perspective: Catch issues before they become expensive
Why this step matters: 80% of design problems get caught and fixed in CAD — not after the first cast comes off the line.
Step 3: Design Optimization for Manufacturing
A design needs to be both beautiful AND buildable. After the initial model, the technical team reviews:
● Center setting: Will the four prongs hold securely without looking bulky?
● Pavé spacing: Enough room between stones to set without cracking?
● Band thickness: Slim enough to look refined, thick enough to survive daily wear?
● Structural integrity: Will the ring handle normal wear-and-tear forces?
Adjustments go back to the client for final approval before production.
Step 4: Client CAD Approval
At approval, the client reviews:
● Center stone size and shape
● Prong design
● Ring band width
● Pavé coverage length
● Overall ring height
● Stone placement
● 18K gold color (rose / white / yellow)
Rule: never enter production without written CAD sign-off. No exceptions.
Step 5: Prototype Development
After CAD approval, we build the physical sample.
The point of a prototype isn't "let's see what it looks like." It's verifying the CAD survives real manufacturing conditions.
Sample-stage inspection:
● Overall proportions
● Center stone position
● Four-prong structure
● Band curve
● Pavé arrangement
● Ring size accuracy
● Surface finish
If the sample doesn't match CAD, we adjust parameters and re-sample. This step saves the $20K+ dead inventory risk of a flawed batch.
Step 6: 18K Gold Production
Client chose 18K rose gold. Manufacturing flow:
Casting → Filing → Refining → Polishing
The prong tips, center setting basket, and pavé seats all get hand-finished to mirror polish. These areas sit right against the stones later — any scratch shows.
Step 7: Moissanite Stone Setting
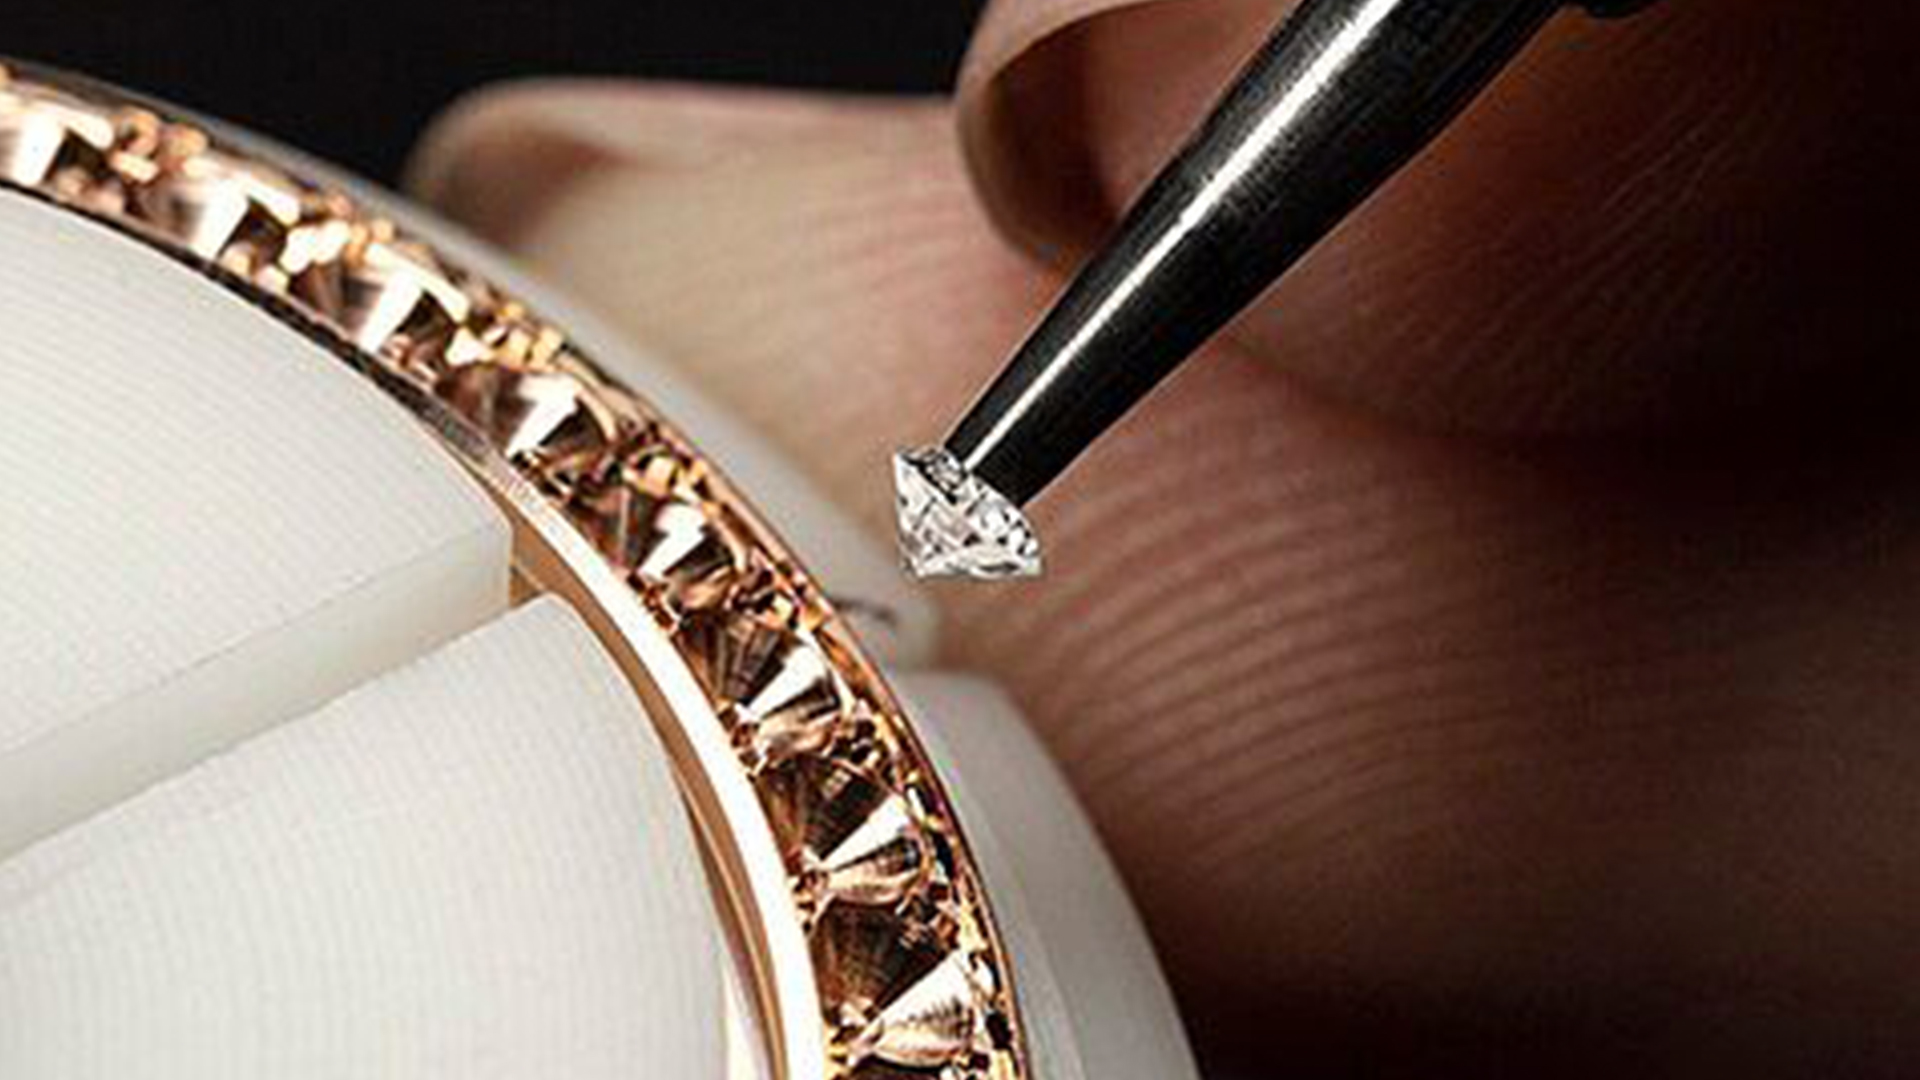
This is the make-or-break step.
The center is a cushion-cut moissanite (focal point). The shoulders and halo use smaller moissanite accents.
Setting checklist:
● Center alignment: Four prongs evenly distributed, stone centered, no tilt
● Side stones: Follow the band's curve, consistent spacing
● Setting security: No loose stones, no off-center seats, no uneven prong pressure
● Color play: Rose gold warmth + cool moissanite fire should complement, not clash
Step 8: Final Polish + Quality Inspection
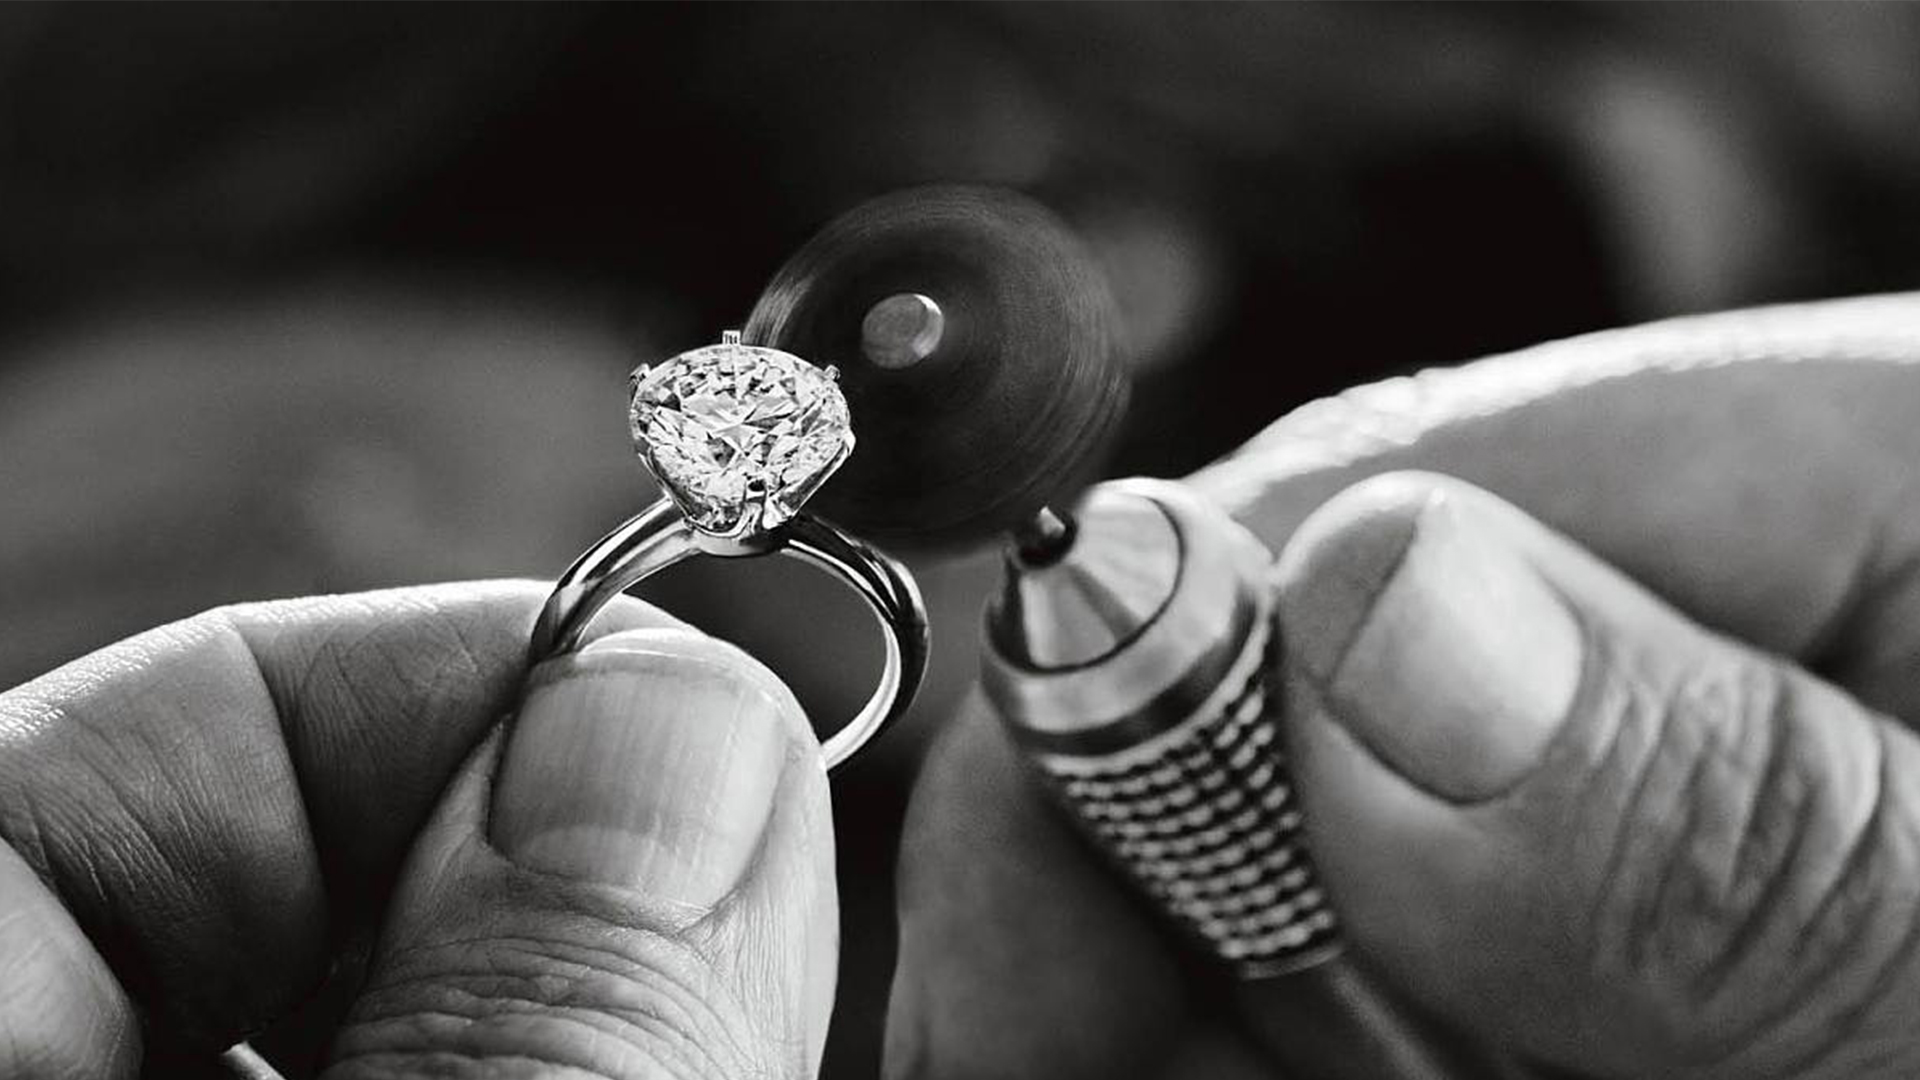
QC isn't a glance-and-ship. We check 5 dimensions:
| Check | What we look for |
| Appearance | Even luster, no scratches, burrs, or machining marks |
| Stones | Center + accents secure, pavé aligned |
| Dimensions | Ring size + key measurements match approved spec |
| Structure | Prongs, center basket, shoulders all sound |
| Design match | Physical piece vs. approved CAD — does it deliver? |
Step 9: Packaging + Shipment
QC-approved pieces get packed per destination — depending on the client's logistics preference.
What This Case Taught Us
OEM is "you draw it, we build it." Custom is "you bring the idea, we turn it into something you can actually produce, wear, and sell."
This 18K gold moissanite ring went from a single sketch to a finished, retail-ready product. Every step along the way shaped the final quality.
Our Custom Capabilities
● Custom moissanite rings
● Custom moissanite engagement rings
● 18K gold jewelry
● Moissanite earrings / necklaces / bracelets
● OEM jewelry manufacturing
● ODM jewelry development
● CAD jewelry design
● Custom prototyping
● Bulk jewelry production
● Private label + custom packaging
Send us a sketch, a reference image, or a finished CAD file. We'll evaluate feasibility and give you a path forward.
How to Start
Send us:
● Design sketch / reference image / CAD file / product specs
We'll run it through:
Feasibility → CAD → Prototype → Quote → Production → QC → Shipment
Your idea, on paper today, retail-ready tomorrow.